


This post will cover how to delete an OEM Partition. OEM partitions can be made by Dell or Lenovo. If you use the GUI Disk Management tools you’ll notice you can’t delete the OEM Partition. In order to delete the OEM partition you are going to need to use a command line tool called Diskpart.
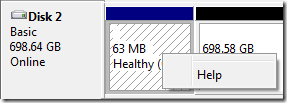
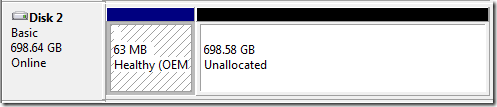
First of all this is probably what you are currently looking at:

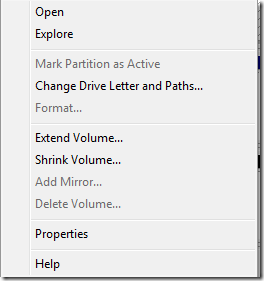
If you hit “DELETE” on the OEM Partition you can’t delete it like other partitions. If you right click on the OEM partition you will notice you don’t have the same options.

Normally you’d see:

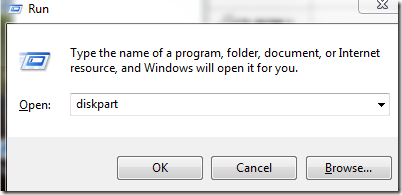
To delete the OEM partition you are going to need to hit “Windows Key” + “R”. This will open the run dialogue box. Type “diskpart” and hit “OK”.

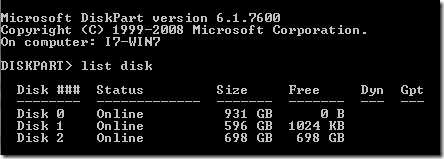
This will open a black command prompt like window. Type “list disk”. This will display all the disks.

You can verify which disk you want to edit using the “Disk Management Tools”. The Disk management tools can be found by Right Clicking Computer and selecting “Management”.As you can tell from the first screen shot in this post the OEM partition is located on Disk 2.
You must now select the disk with the OEM partition on it. Again in my case it is “Disk 2”. To select the disk you must type “select disk 2”.

You can now type “list partition” to list all the partitions on the disk just in case you want to verify you absolutely have the right disk selected.

You must now select the partition. In my case it is “Partition 1”. To do this you must type the command “select partition 1”.

Now type “delete partition override”.

Once you do that you have officially removed the OEM partition on the drive! Congratulations!